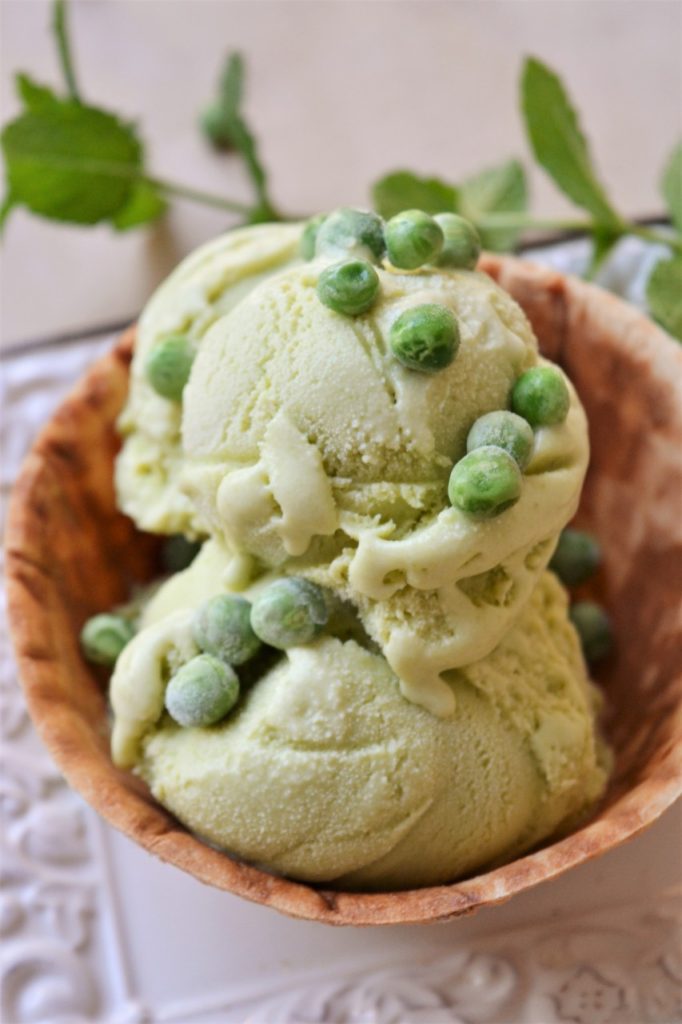
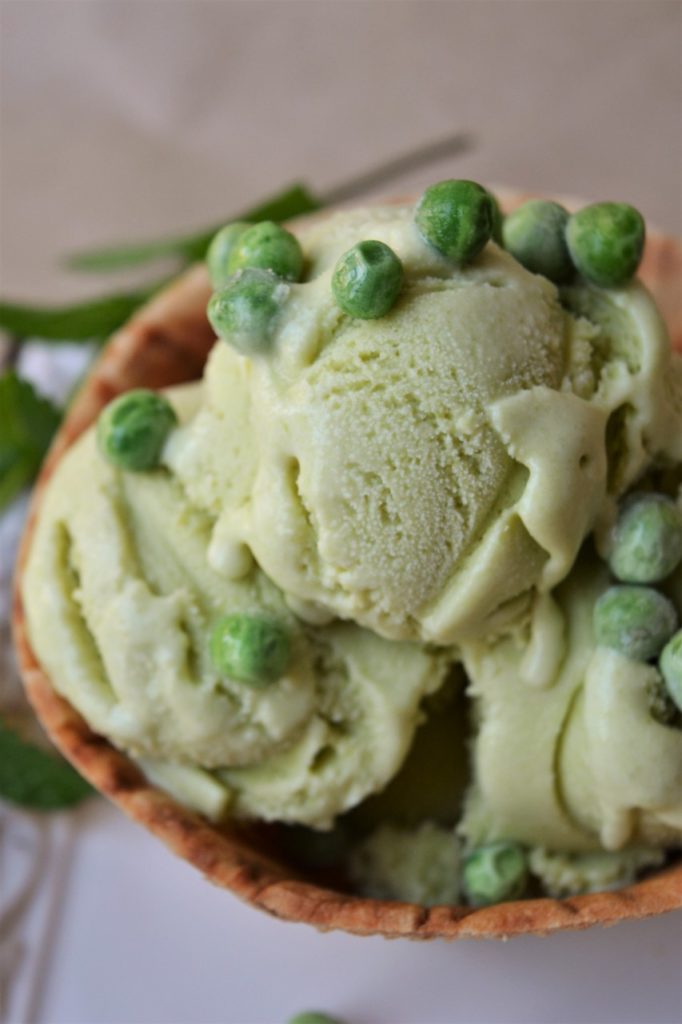
Nothing says summertime like a nice, sweet… pea ice cream? You heard that right! This recipe came from a very special request from my one and only mother. I have a giant sweet tooth, and there’s no denying that, but my mom was born with a weird affinity for savory desserts, and that’s where these recipes get their time to shine. Despite my mom’s requests, I was a little hesitant about this recipe because.. I wasn’t truly convinced this was going to be a big hit for me.
But surprisingly… it actually turned out delicious! I’m not saying this is a recipe that I’m going to be eating by the spoonfuls, but if you’re looking for some adventurous ways to test out your taste buds this summer, you’ll definitely want to give this recipe a try.
Pro Tip: this pairs REALLY well with cornbread or biscuits!
A lot of people are generally afraid or hesitant to try their own homemade ice cream. On top of that, we usually don’t want to experiment with out-of-the-box flavors like this. However, it really is an easy process to get the hang of once you do it one or two times! It is a patience game – unlike cookies or cupcakes, ice cream isn’t something you can whip up in one hour or less. I will make the argument though: it is ALWAYS worth the wait!
Are you planning a picnic with the family soon? Have a weekly Sunday ritual with your family? Give this recipe a shot! It’s the perfect treat to make with family (or whip it up as a WOW dish to take to a party)!
Do I need to use fresh or frozen peas?
You can use either! Fresh is always preferred (for taste and texture), but I used frozen peas for my recipe and it was still a hit.
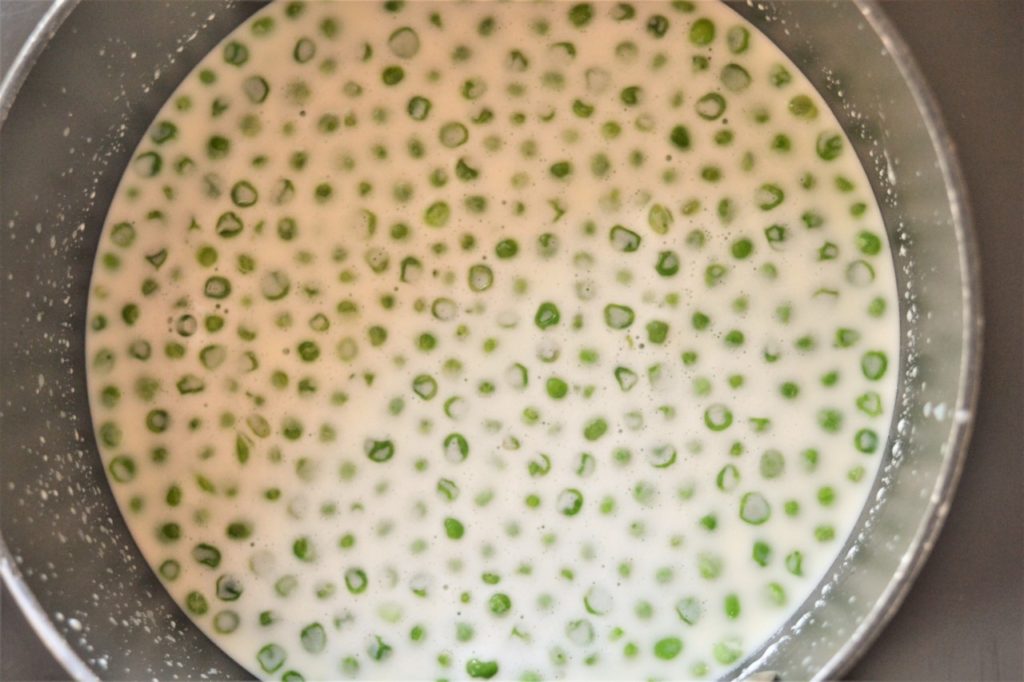
Why do I need to soak my peas?
This period of soaking can be the most frustrating (& time consuming!) however it is essential to the sweet pea ice cream flavor for two reason:
- It helps cook the peas which leaves them softer for a puree and creamier ice cream.
- It ensures that the flavor translates to your ice cream base. Just pulverizing the peas and adding them to your mixture would create an inconsistent flavor and coloring.
Do I need to temper my eggs?
Yes! With this type of recipe, tempering properly ensures that your eggs do not get scrambled in your mixture which creates a gritty/grainy texture in your ice cream (which nobody likes) – Ice cream is all about patience, so don’t rush it!

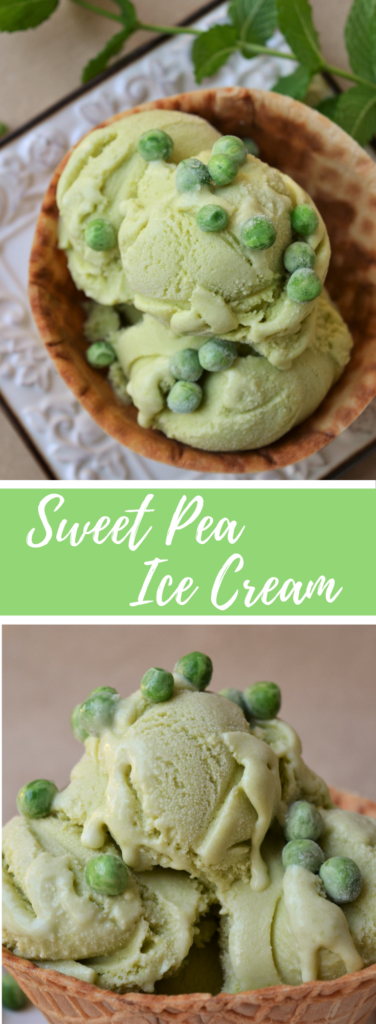
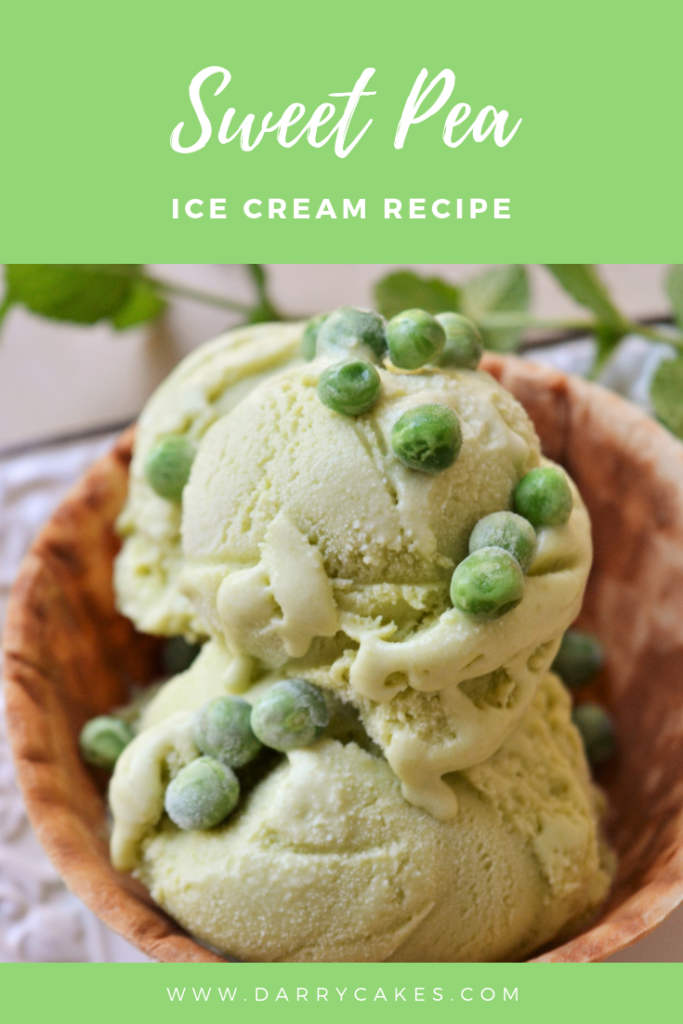
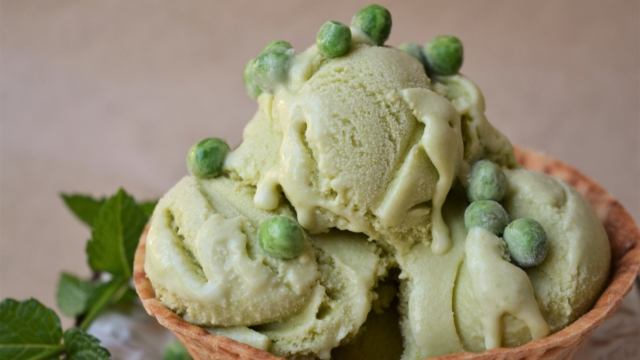
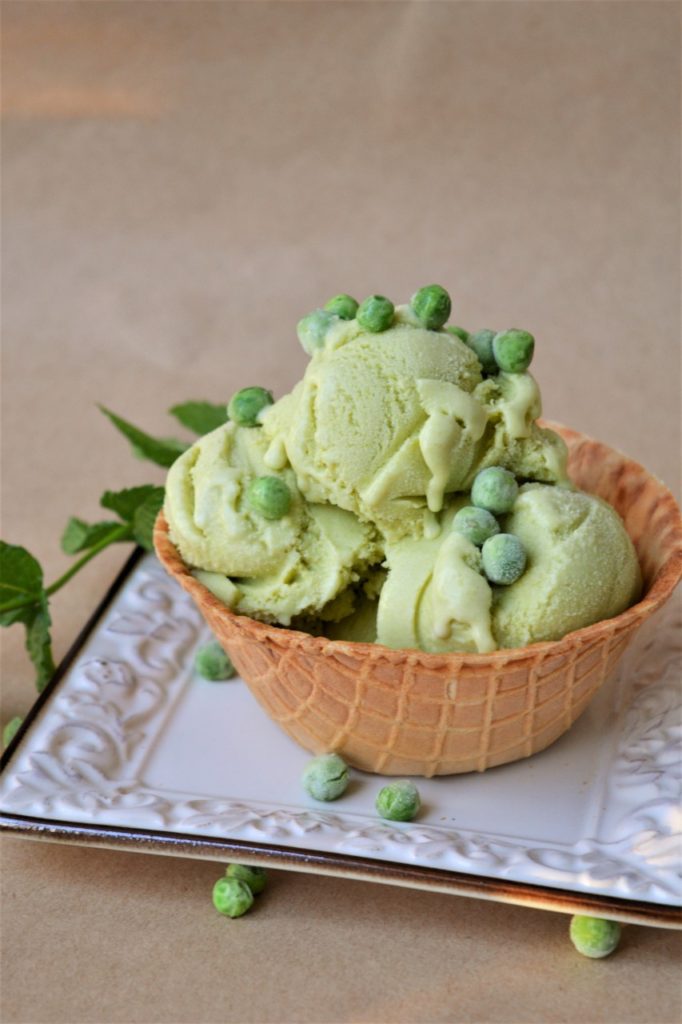
Sweet Pea Ice Cream
Ingredients
- 2 cups whole milk
- 1 1/2 cups heavy cream
- 16 oz sweet peas frozen or fresh
- 2 cups sugar
- 3 egg yolks
- 1 tsp vanilla extract
Instructions
-
In a medium-sized pot, combine your whole milk, heavy cream and 1 cup of the sugar. Whisk until the sugar is dissolved (around 2 minutes).
-
Add in your sweet peas. Stir for 2-3 minutes until foam from whisking subsides slightly.
-
Heat the cream mixture and sweet peas until the mixture is steaming. Cover with a lid and remove from heat. Let sit for 1 hour.
-
Once the mixture has soaked for 1 hour, add the ingredients to your food processor or blender and reduce to liquid. Note: You still want the liquid to be hot at this point!
-
Once the pea & cream mixture is pureed, add it back to your pot and start to reheat over medium heat.
-
In a small bowl, whisk together your egg yolks and remaining 1/2 cup of sugar until the mixture is smooth and a pale yellow color.
-
Once your cream mixture is steaming light, begin to temper your egg yolks. To temper your yolks, add your cream mixture to the yolks 1 tbsp. at a time while continuously whisking your yolks.
-
Continue to do this until you’ve added ~1 total cup of the cream mixture. Pour the yolks into the pot and continue to heat over medium-low heat.
-
Cook the mixture for around 15 minutes or until the mixture coats the back of a wooden spoon. You can tell it’s done when you run your finger across the spoon and the line remains clearly!
-
Pour the mixture through a mesh strainer into a medium-sized bowl and mix in the vanilla. Let sit at room temperature for 1 hour and then cover with plastic wrap and chill for at least 3-4 hours (or overnight).
-
Once chilled, pour the mixture into your Ice Cream Maker and freeze according to manufacturer instructions. It is a softer ice cream so I recommend placing it in the freezer to set up, but you can serve immediately if you’re just craving it!